Resend documentation is really good, and there are tons of articles out there explaining how to set up Resend email service. I thought I’d share my own humble attempt at breaking down the process. I always prefer to use AWS SES email when it comes to email services, but navigating into the AWS console and installing the AWS SDK can be challenging - especially for frontend developers. Resend solves this issue by its intuitive UI and simple, straightforward packages.
Requirements
- Custom domain.
- Resend account (Free or Paid).
- Some experience setting up domain records (e.g., MX, CNAME).
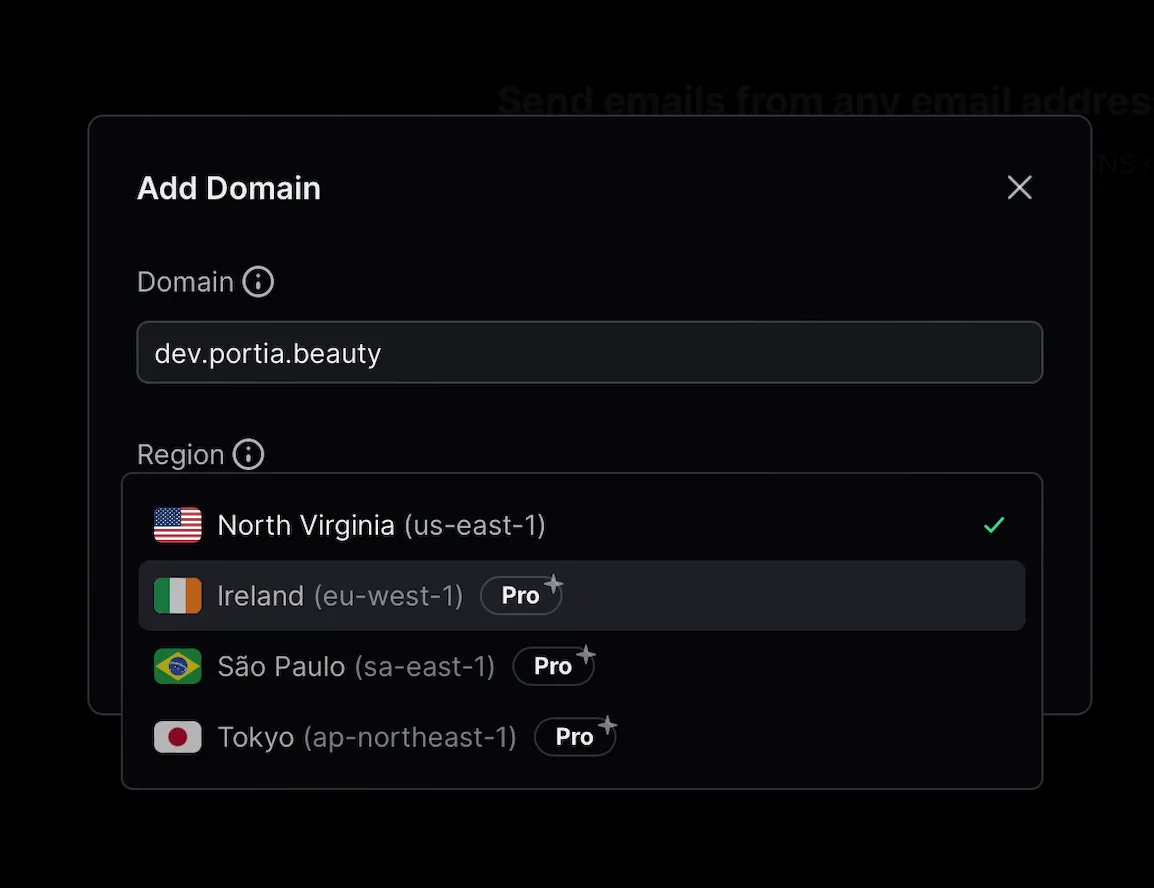
First, we need to set up our domain in the Resend dashboard. To do that, first navigate to the Domains tab in the Resend dashboard. Then, click on the “Add Domain” button and follow the prompts to set up your custom domain. Note: if you’re using a free account, only the North Virginia region is available. But if you’re rocking a paid account, you can choose any region!
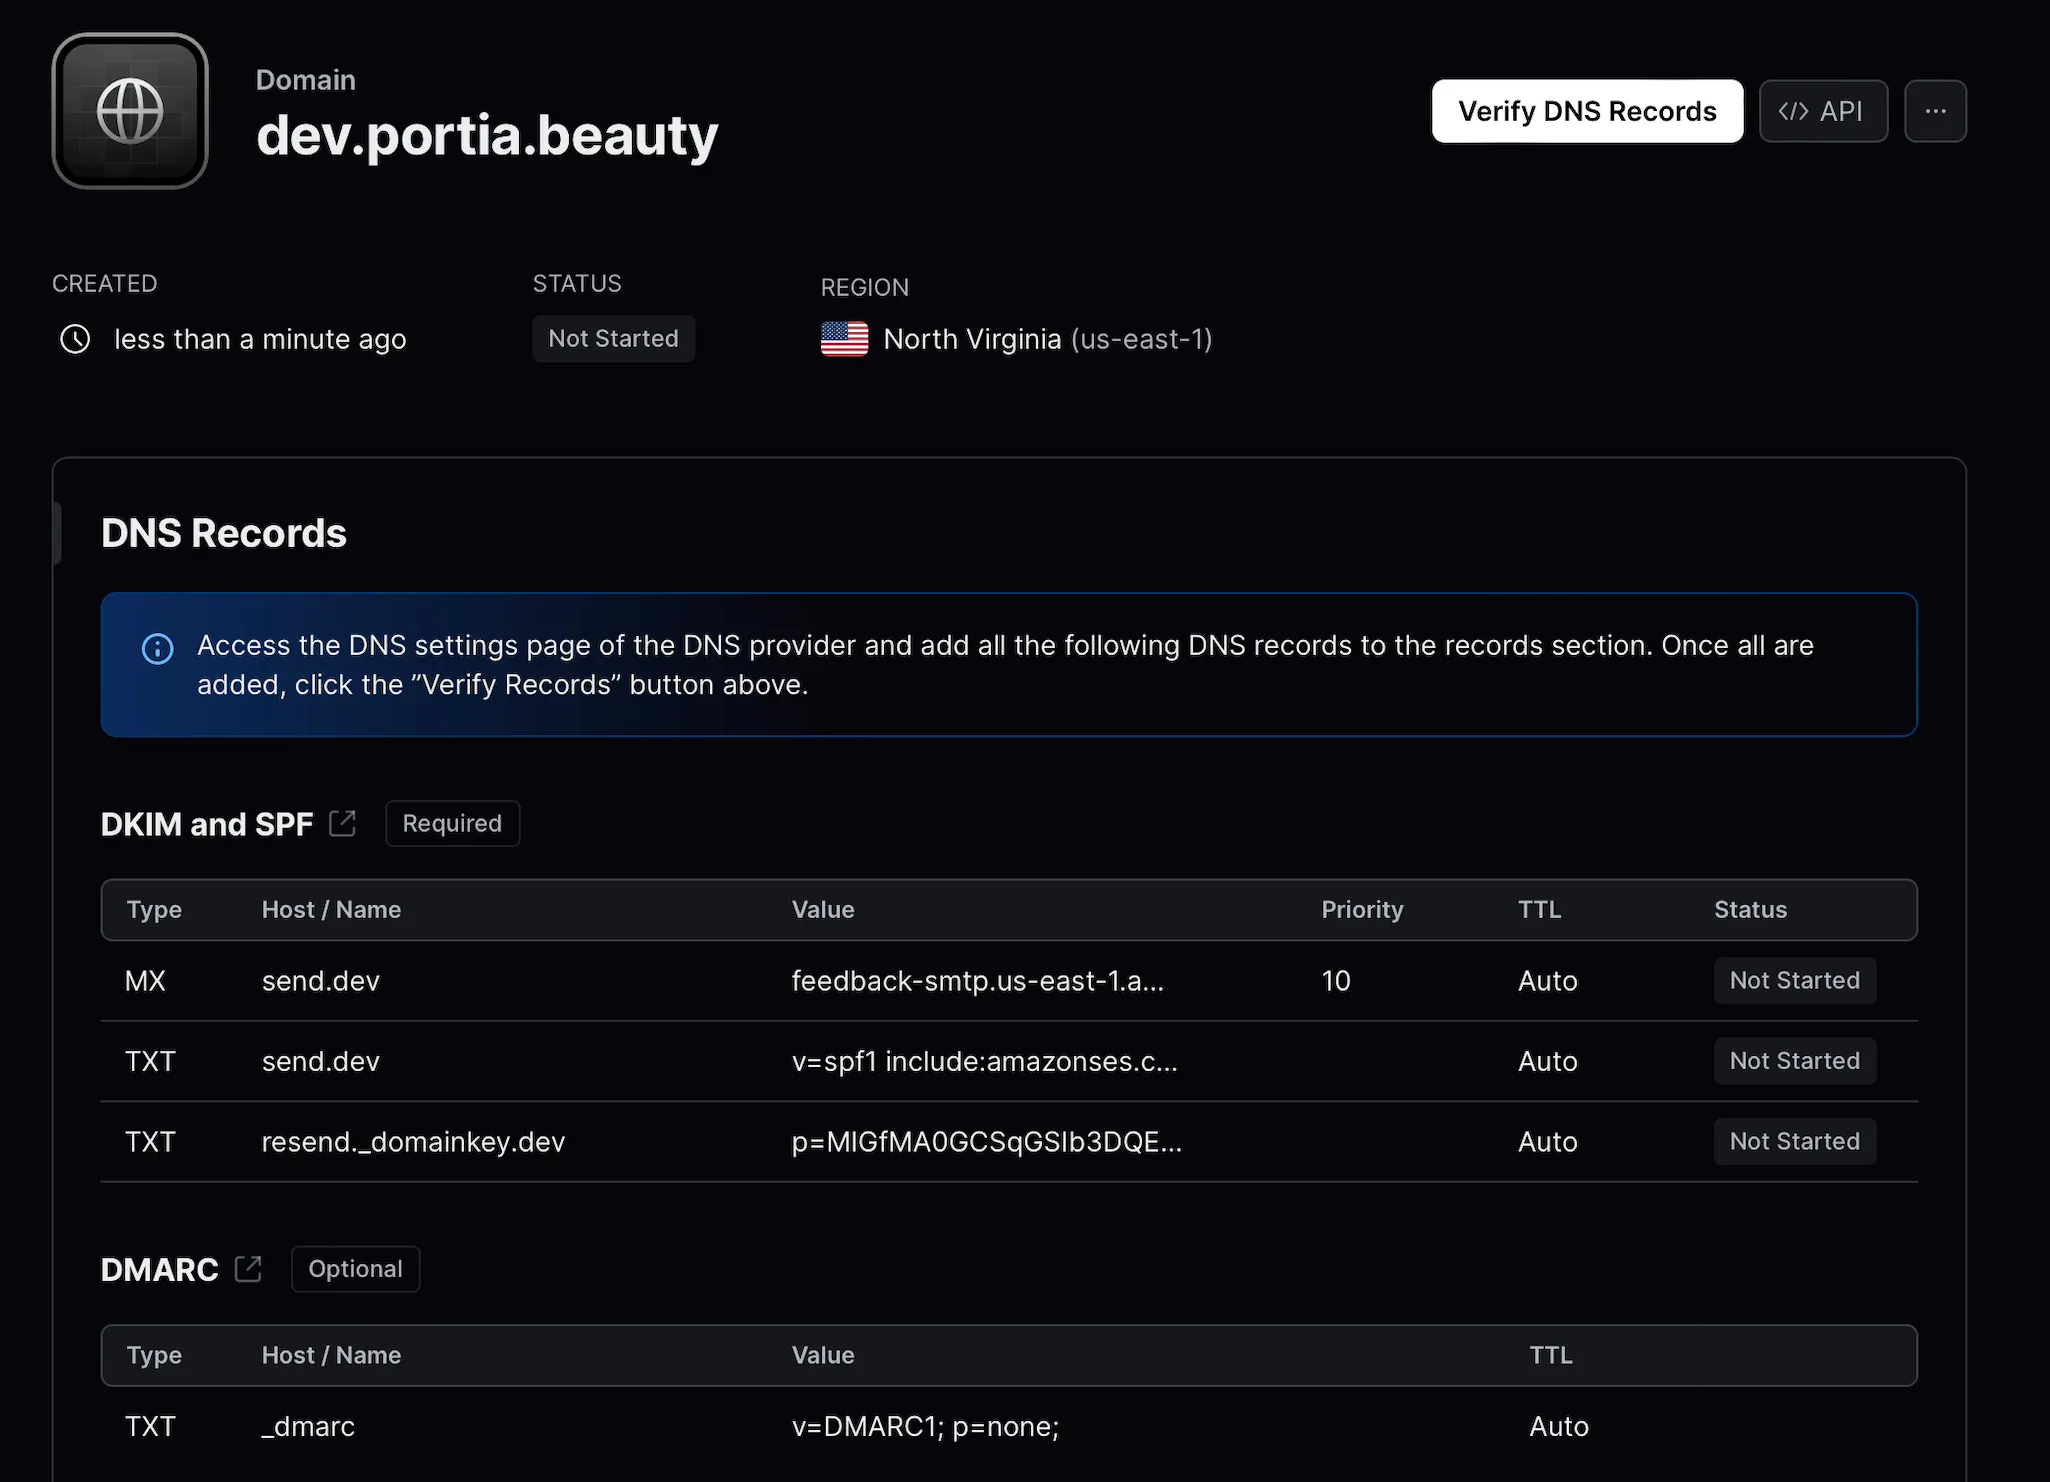
After setting up your domain in the Resend dashboard, we need to add some required DNS records in your DNS provider. For example, if you’re using AWS Route53, check out this guide for a step-by-step walkthrough. If you’re with Cloudflare, follow these steps. Once you’ve added the DNS records, keep an eye out for the “DNS verification pending” status in the Resend dashboard - it’s a sign that everything is working smoothly!
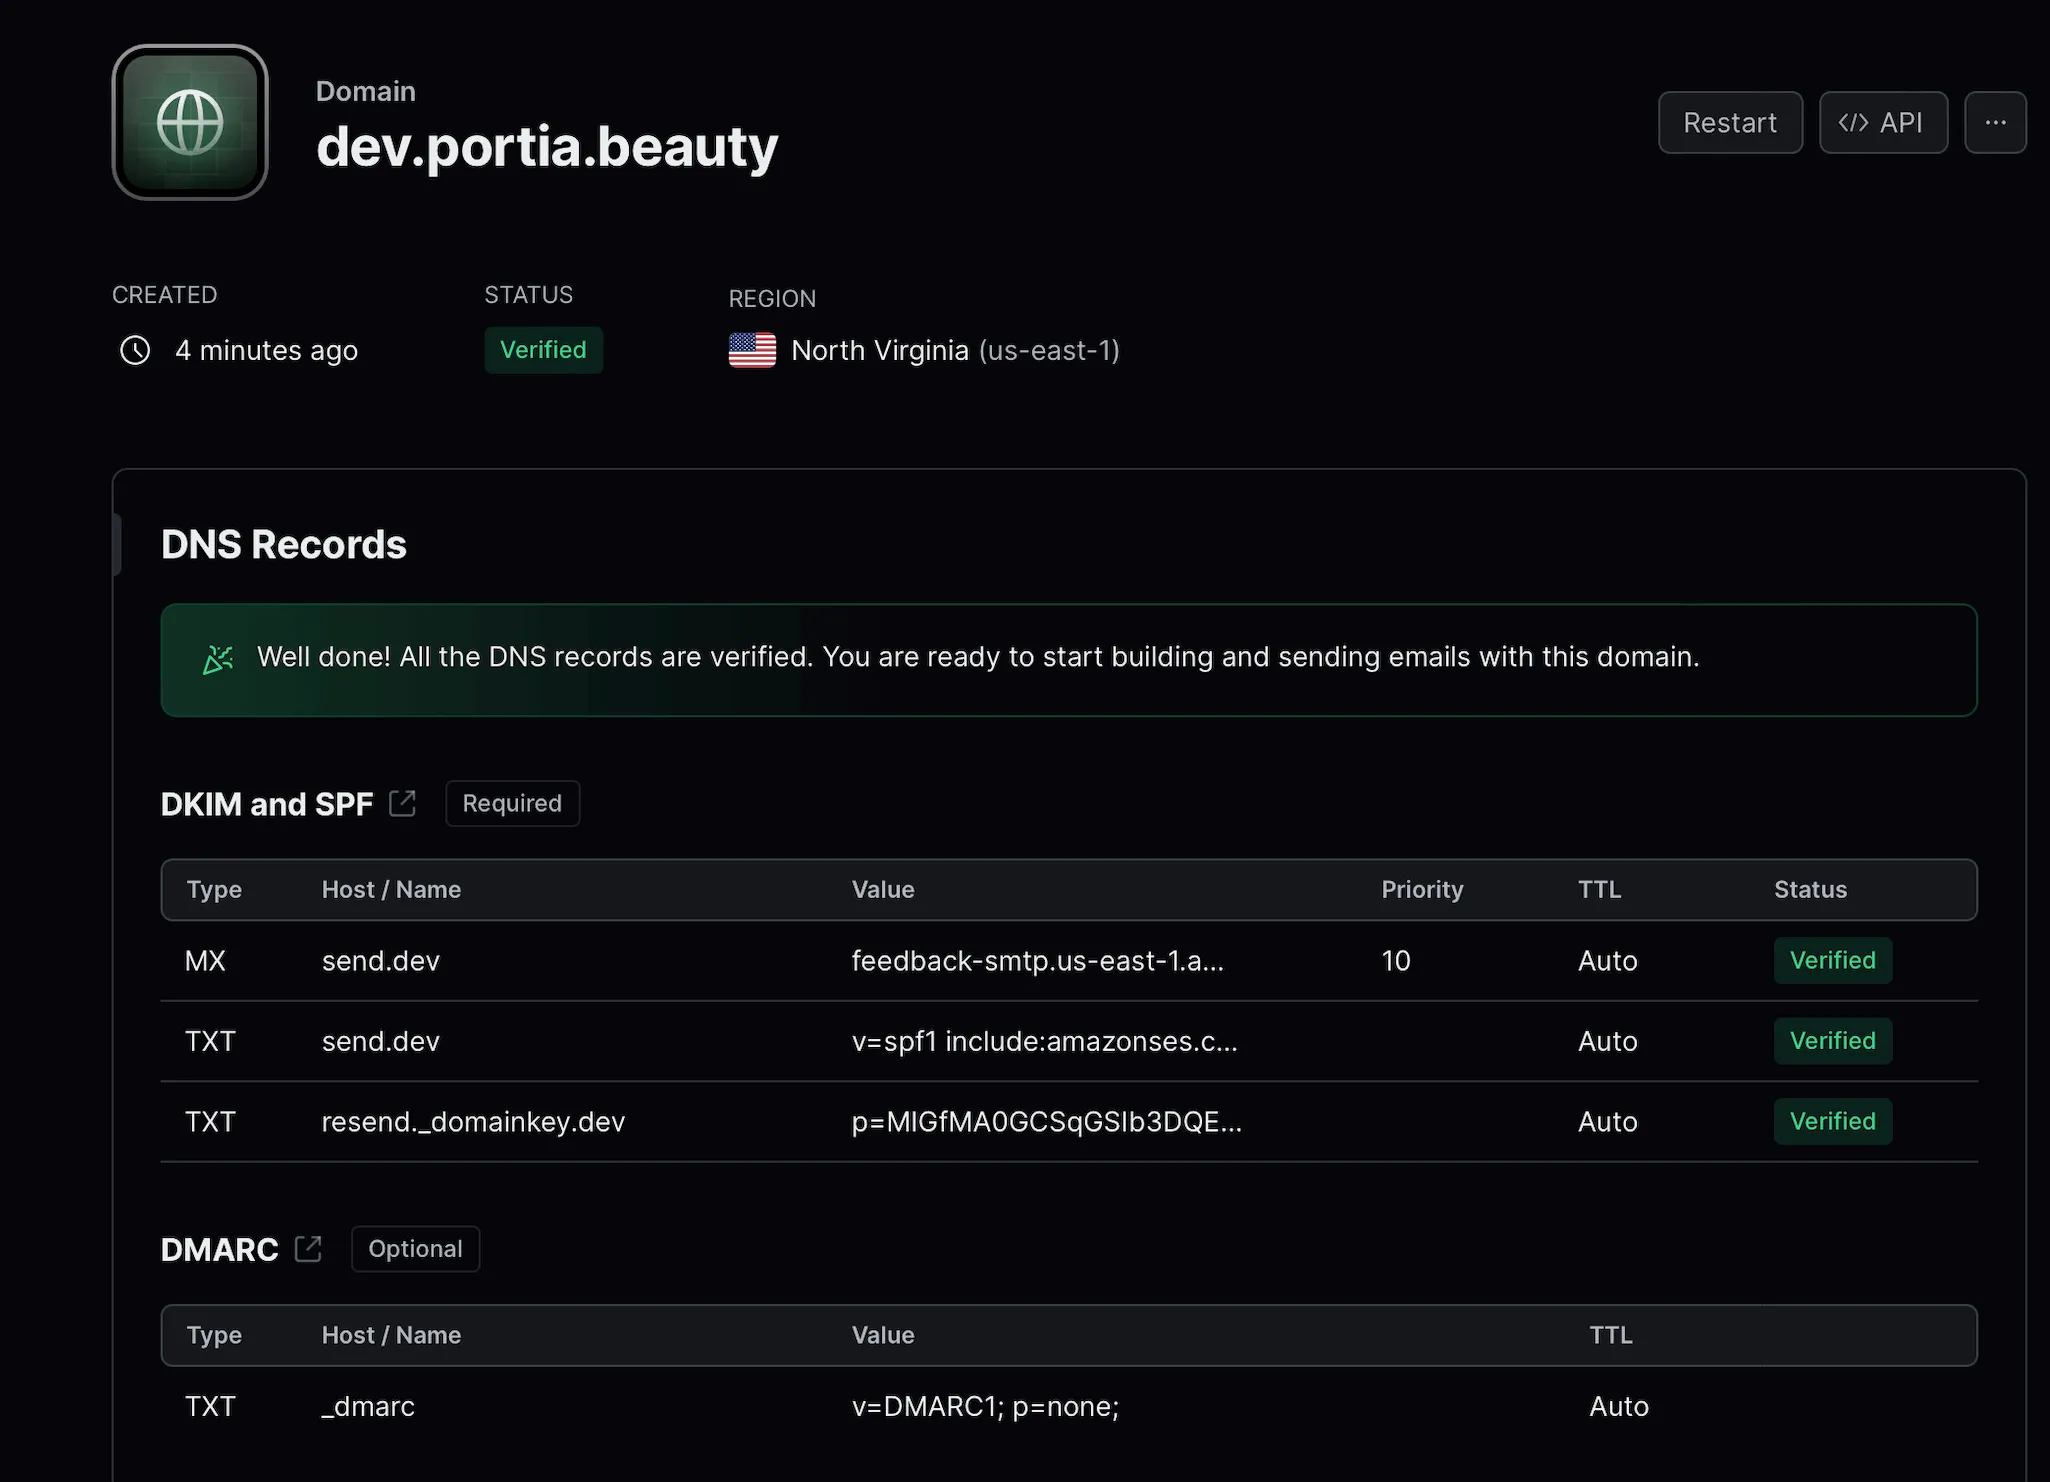
DNS record changes will take a couple of minutes (sometimes takes a few hours) to propagate. Once it’s done, you should be able to see the Domain status verification status as “Verified”.
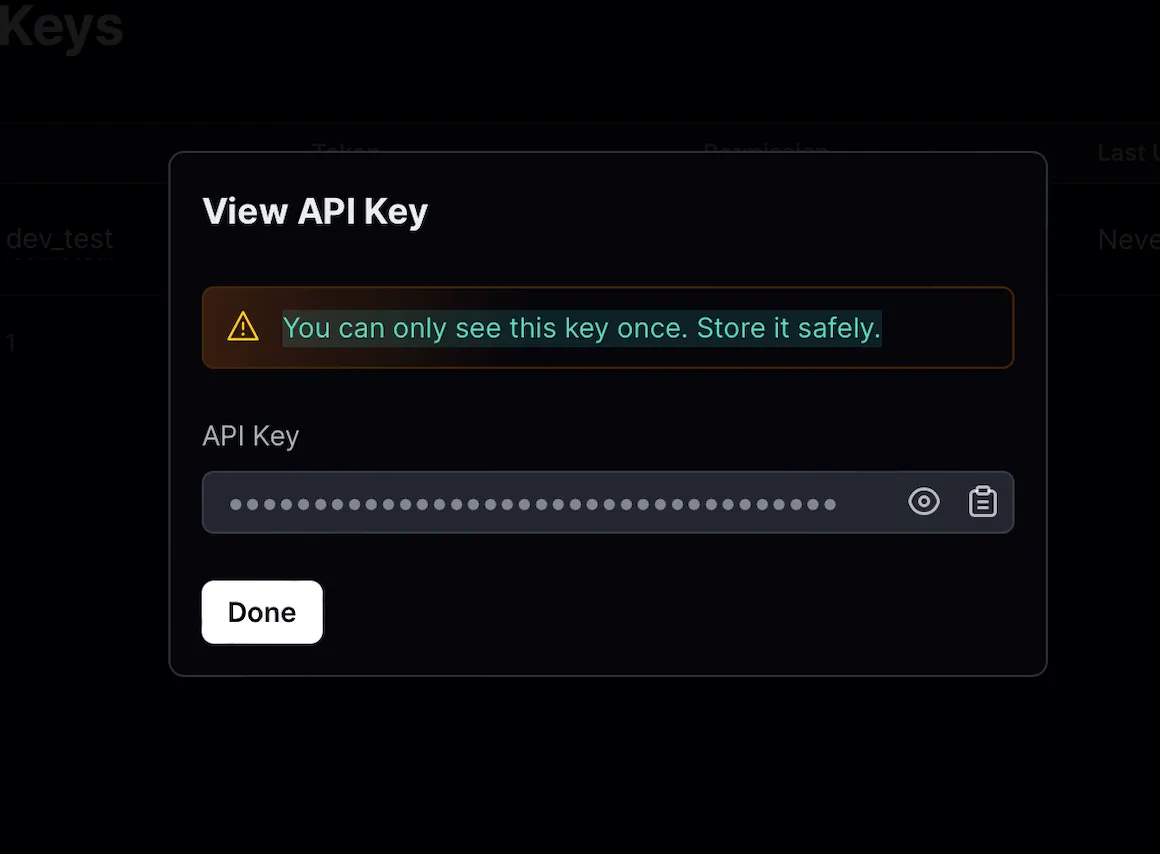
Now that we’ve set up our domain and added the required DNS records, let’s proceed to creating an API key for our Next.js application! Navigate to the API Keys tab in Resend dashboard. Click on the “Create API Key” button and follow the prompts to create your API key. In the permission field, choose the “Sending” access - this will give you the necessary permissions to send emails with Resend. Once you’ve created an API key, copy it and save it somewhere safe - you’ll need it later!
Next JS Application Setup
If you’re already set up with an existing Next.js application, feel free to skip ahead! But if you’re starting from scratch, let’s get started. Run the following command in your terminal to set up a new Next js app:
npx create-next-app@latest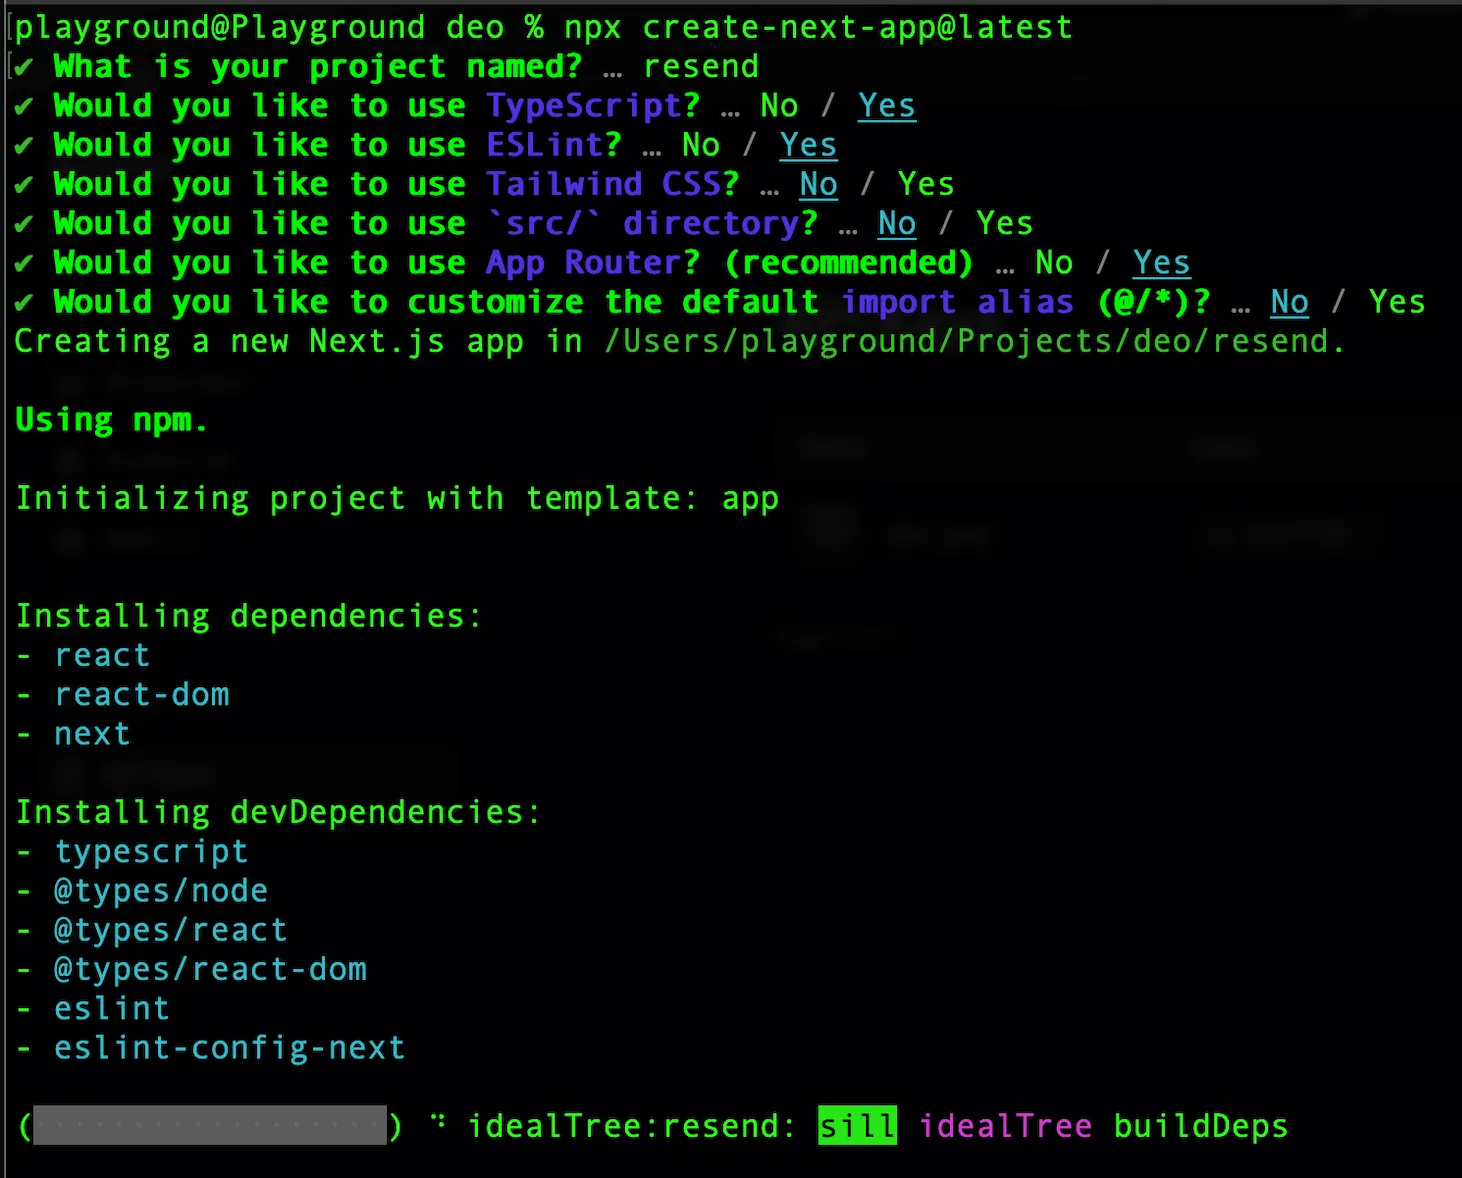
Install Resend Node.js SDK
npm install resendAdd the Resend API Key to your .env.local file:
RESEND_API_KEY=secret-resend-key // replace with your Resend API key!Create an email template, components/email-template.tsx:
import * as React from 'react';

interface EmailProps {
  name: string;
}

export const EmailTemplate: React.FC<Readonly<EmailProps>> = ({ name }) => (
  <div>
    <h1>Welcome, {name}!</h1>
  </div>
);
Create a route file under app/api/send/route.ts:
import { EmailTemplate } from '@/components/email-template';
import { Resend } from 'resend';

const resend = new Resend(process.env.RESEND_API_KEY);

export async function GET() { // using get method for testing purpose
  try {
    const { data, error } = await resend.emails.send({
      from: '[email protected]', // sender email
      to: ['[email protected]'], // receiver email
      subject: 'Hello world', // email subject
      react: EmailTemplate({ name: 'John' }) as React.ReactElement, // email template
    });

    if (error) {
      return Response.json({ error }, { status: 500 });
    }

    return Response.json(data);
  } catch (error) {
    return Response.json({ error }, { status: 500 });
  }
}
Run the app with npm run dev and open http://localhost:3000/api/send, you should see the json response with email transaction id.

If you check your inbox, you will find an email from Next.js application with your custom domain.


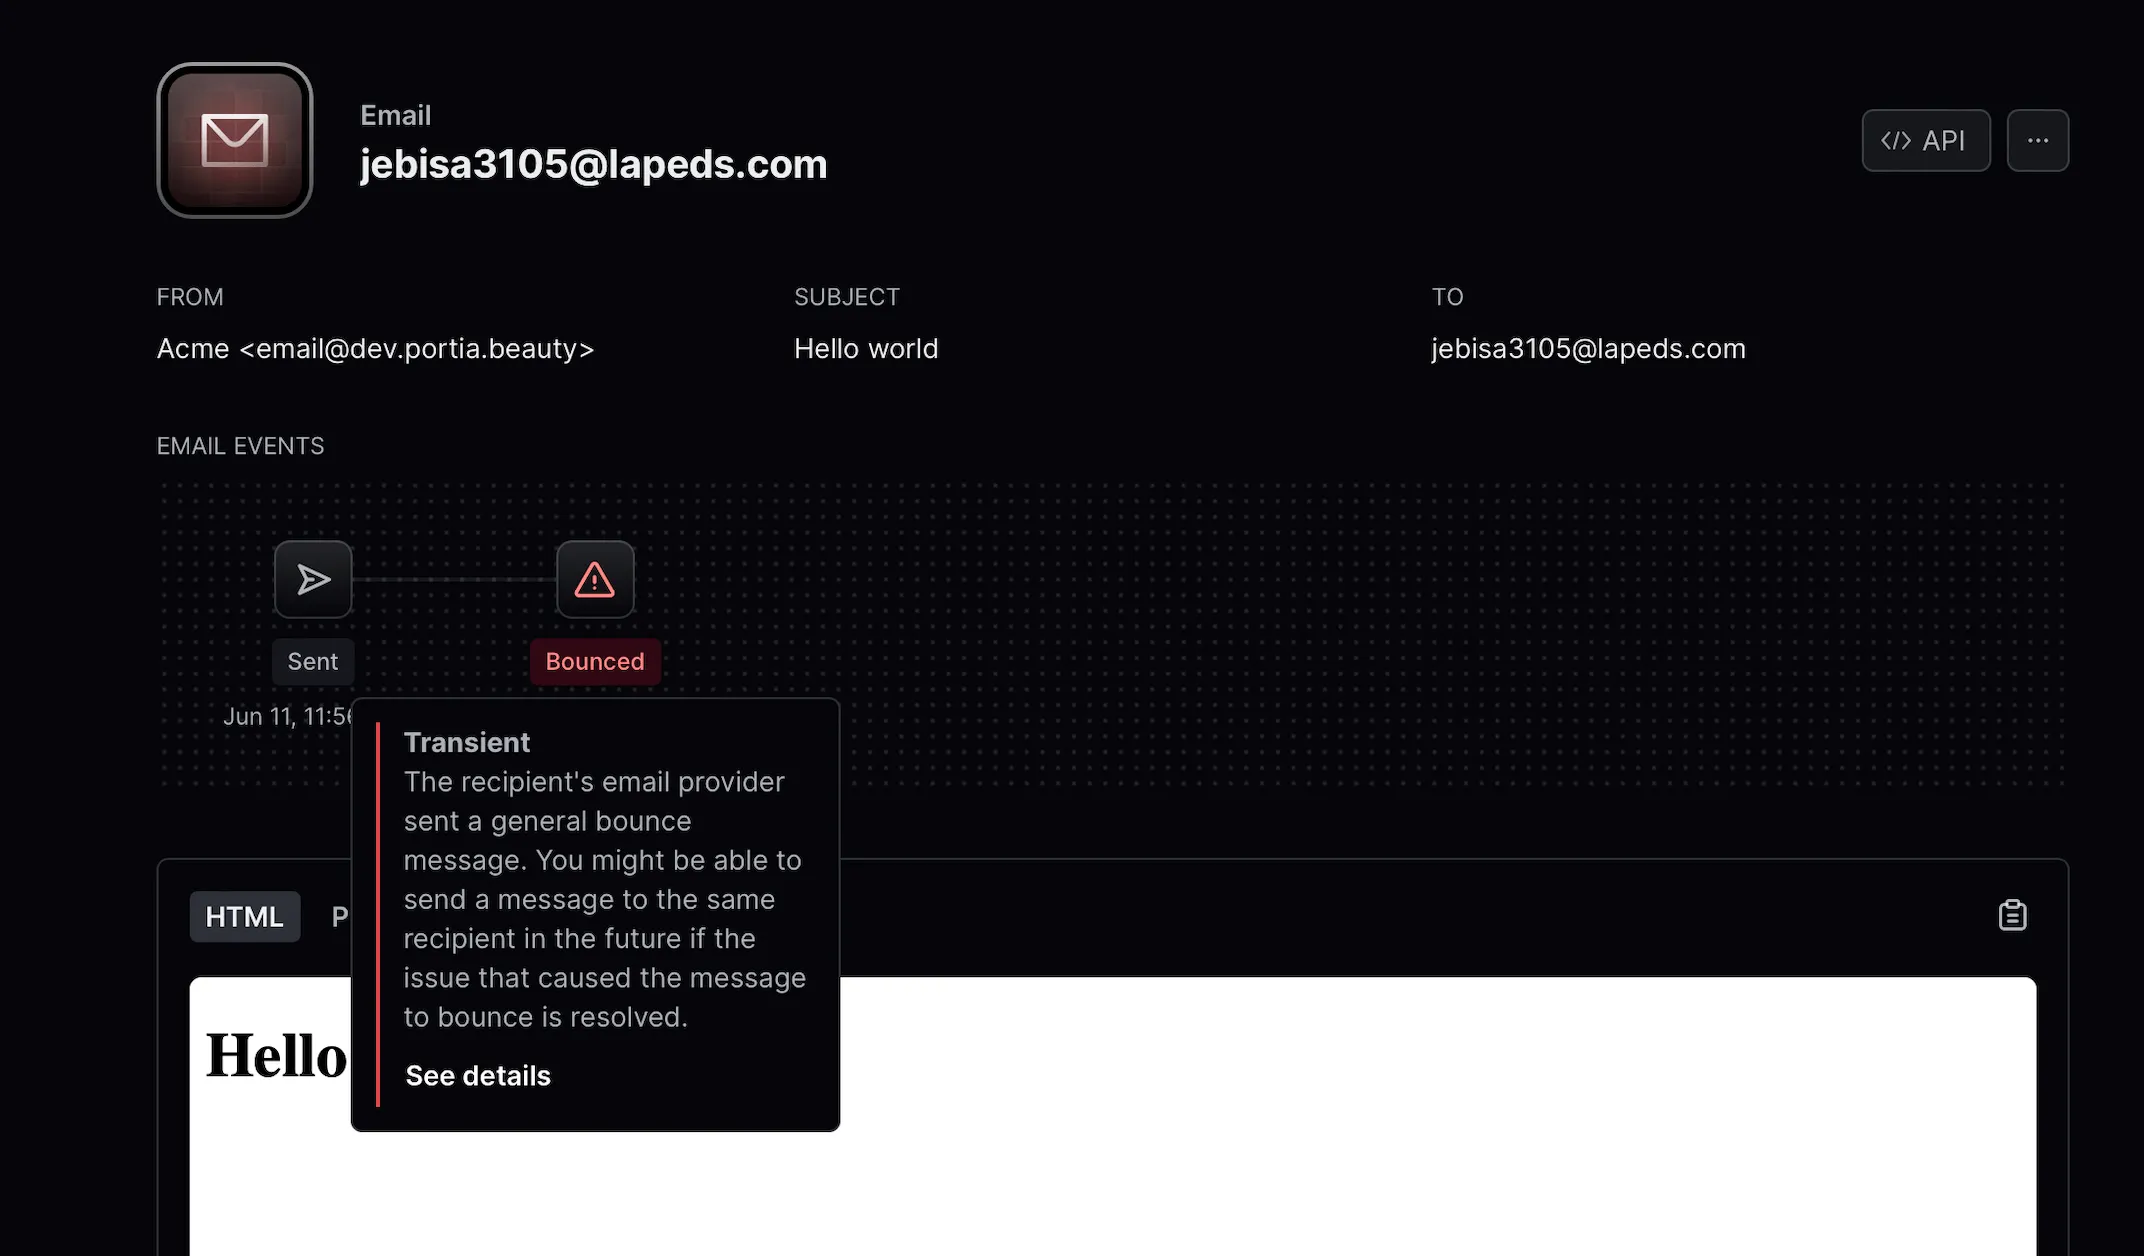
If you didn’t receive the email, please check your Resend dashboard to see the status of your transaction. Sometimes email may bounce or delivered to spam folder.

